Marly and Jason upgraded their entryway with ease. Follow their step-by-step guide for a stunning transformation. ͏  ͏  ͏  ͏  ͏  ͏  ͏  ͏  ͏  ͏  ͏  ͏  ͏  ͏  ͏  ͏  ͏  ͏  ͏  ͏  ͏  ͏  ͏  ͏  ͏  ͏  ͏  ͏  ͏  ͏  ͏  ͏  ͏  ͏  ͏  ͏  ͏  ͏  ͏  ͏  ͏  ͏  ͏  ͏  ͏  ͏  ͏  ͏  ͏  ͏  ͏  ͏  ͏  ͏  ͏  ͏  ͏  ͏  ͏  ͏  ͏  ͏  ͏  ͏  ͏  ͏  ͏  ͏  ͏  ͏  ͏  ͏  ͏  ͏  ͏  ͏  ͏  ͏  ͏  ͏  ͏  ͏  ͏  ͏  ͏  ͏  ͏  ͏  ͏  ͏  ͏  ͏  ͏  ͏  ͏  ͏  ͏  ͏  ͏  ͏  ͏  ͏  ͏  ͏  ͏  ͏  ͏  ͏  ͏  ͏  ͏  ͏  ͏  ͏  ͏  ͏  ͏  ͏  ͏  ͏  ͏  ͏  ͏  ͏  ͏  ͏  ͏  ͏  ͏  ͏  ͏  ͏  ͏  ͏  ͏  ͏  ͏  ͏  ͏  ͏  ͏  ͏  ͏  ͏  ͏  ͏  ͏  ͏  ͏  ͏  ͏  ͏  ͏  ͏  ͏  ͏  ͏  ͏  ͏  ͏  ͏  ͏  ͏  ͏  ͏  ͏  ͏  ͏  ͏  ͏  ͏  ͏  ͏  ͏  ͏ ­ ­ ­ ­ ­ ­ ­ ­ ­ ­ ­ ­ ­ ­ ­ ­ ­ ­ ­ ­ ­ ­ ­ ­ ­ ­ ­ ­ ­ ­ ­ ­ ­ ­ ­ ­ ­ ­ ­ ­ ­ ­ ­ ­ ­ ­ ­ ­ ­ ­ ­ ­ ­ ­ ­ ­ ­ ­ ­ ­ ­ ­ ­ ­ ­ ­ ­ ­ ­ ­ ­ ­ ­ ­ ­ ­ ­ ­ ­ ­ ­ ­ ­ ­ ­ ­ ­ ­ ­ ­ ­ ­ ­ ­ ­ ­ ­ ­ ­ ­ ­ ­ ­ ­ ­ ­ ­ ­ ­ ­ ­ ­ ­ ­ ­ ­ ­ ­ ­ ­ ­ ­ ­ ­ ­ ­ ­ ­ ­ ­ ­ ­ ­ ­ ­ ­ ­ ­ ­ ­ ­ ­ ­ ­ ­ ­ ­ ­ ­ ­ ­ ­ ­ ­ ­ ­ ­ ­ ­ ­ ­ ­ ­ ­ ­ ­ ­ ­ ­ ­ ­ ­ ­ ­ ­ ­ ­ ­ ­ ­ ­ ­ ­ ­ ­ ­ ­ ­ ­ ­ ­ ­ ­ ­ ­ ­ ­ ­ ­ ­ ­ ­ ­ ­ ­ ­ ­ ­ ­ ­ ­ ­ ­ ­ ­ ­ ­ ­ ­ ­ ­ ­ ­ ­ ­ ­ ­ ­ ­ ­ ­ ­ ­ ­ ­ ­ ­ ­ ­ ­ ­ ­ ­ ­ ­ ­ ­ ­ ­ ­ ­ ­ ­ ­ ­ ­ ­ ­ ­ ­ ­ ­ ­ ­ ­ ­ ­ ­ ­ ­ ­ ­ ­ ­ ­ ­ ­ ­ ­ ­ ­ ­ ­ ­ ­ ­ ­ ­ ­ ­ ­ ­ ­ ­ ­ ­ ­ ­ ­ ­

Redefine Your Home's Entrance with a Simple Door Upgrade

“We are so pleased with our new front door; I just wish we had changed it sooner!”

- Marly Dice

Here’s how Marly and Jason did it

Step-by-Step

1. Door Selection

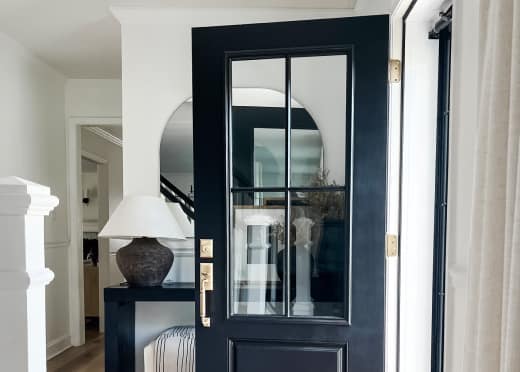
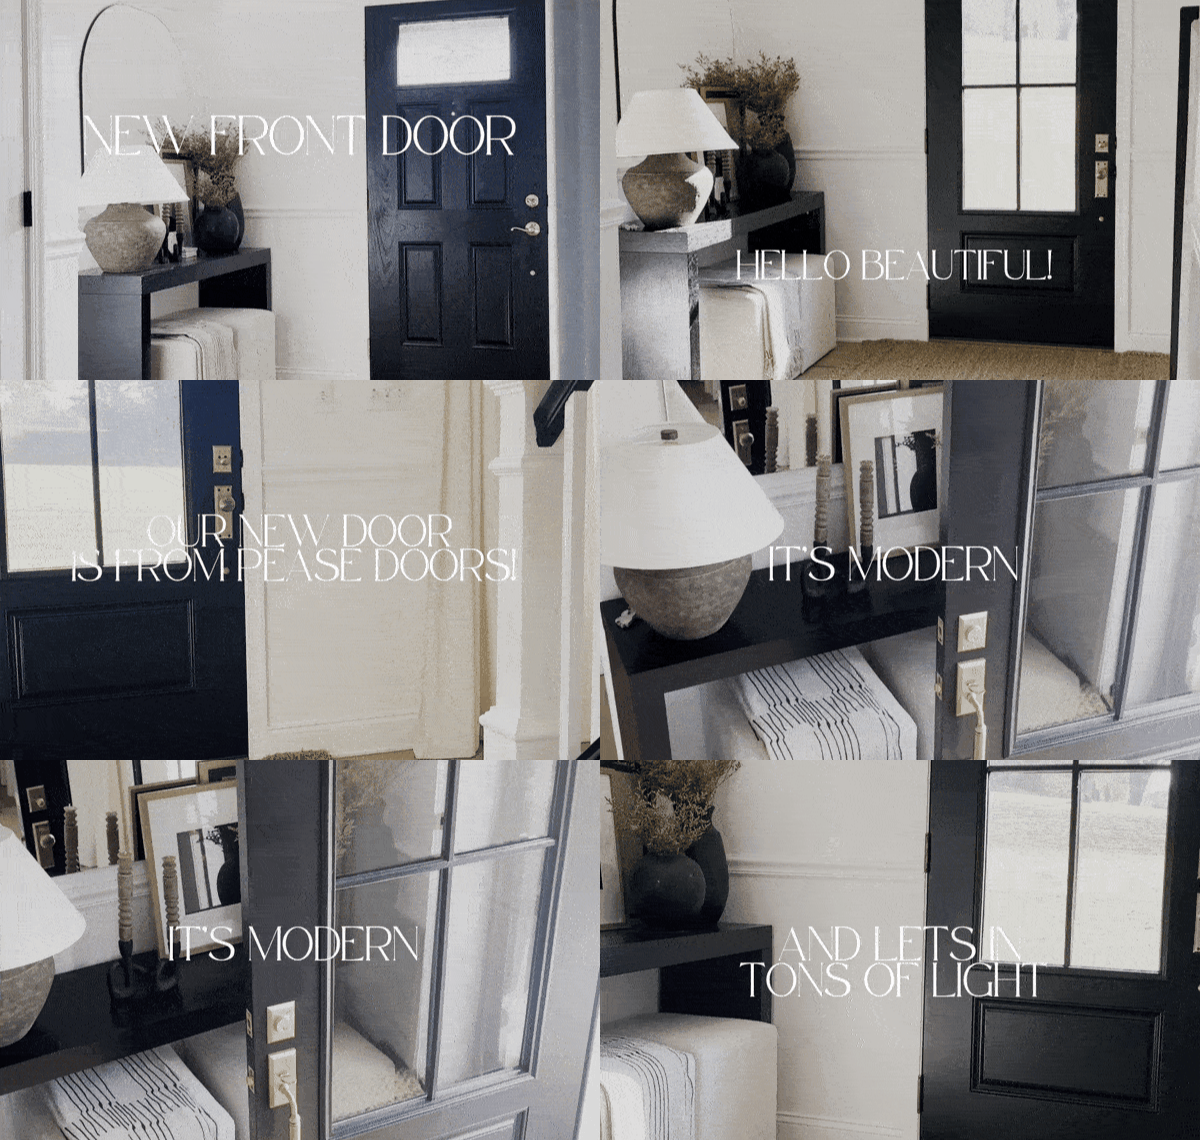
Select a door based on personal style preferences and functional needs. For example, Marly chose a door with clear glass for more light and a modern look, sourced from Pease Doors​.

2. Painting the Door

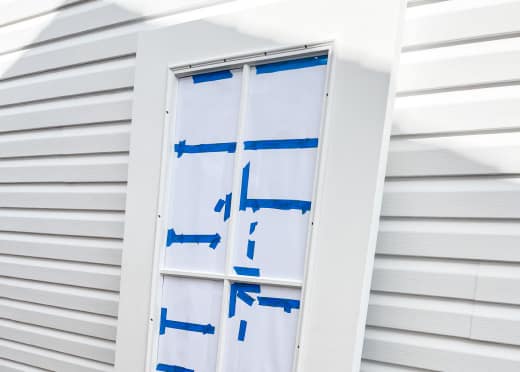
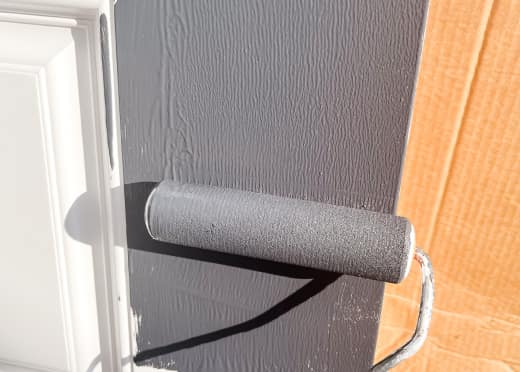
Upon receiving the door, prepare for painting by taping up the glass. Use a specific paint suitable for doors and apply two coats, allowing each to dry for 24 hours. Lightly sand the door between coats for better adhesion.

3. Installing the Hardware

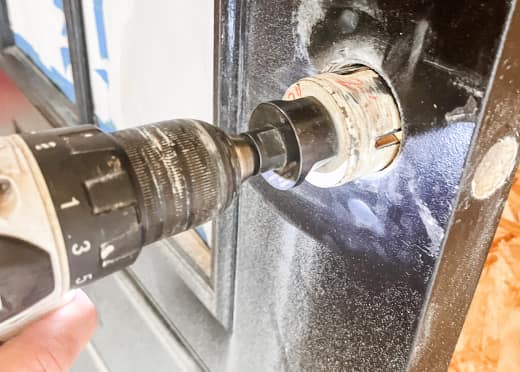
Select and install new hardware for a cohesive look. Measure and drill holes for the doorknob and deadbolt, using appropriate tools or an installation kit if needed.

4. Hanging the Door

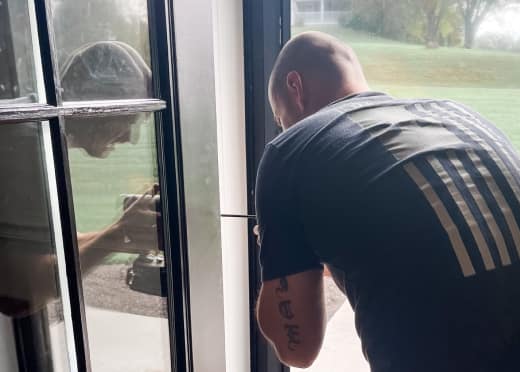
Attach new hinges to the door, aligning them with the existing screw holes in the door frame. Use stacks of books for support while securing the door into the door jam​.

5. Painting the Frame Kit Around the Glass

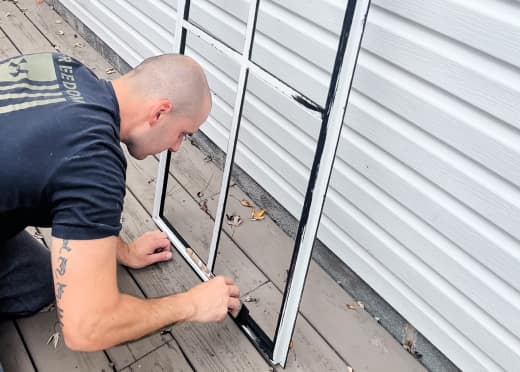
Remove one side of the glass frame to access and paint the backside of the frame and the removed frame piece. Reassemble once the paint is dry​.

6. Final Touches

Once the door is hung and the frame painted, inspect for any imperfections. Touch up paint as needed, and add weather stripping around the door to ensure energy efficiency and a polished look.

How to Choose a New Front Door

Pease Doors Warehouse

5801 Mariemont Ave

Cincinnati, OH 45227

By appointment only


Contact Us

Email: [email protected]

Call: +1 (513) 871-8907

Urgent? Text us! Text us a picture of what you need or what you would like help measuring.

Pease Doors 5801 Mariemont Ave Cincinnati, Ohio 45227